Bring new life to your living space with Drywall Installation Ogden Utah and premium paint applications.
A Comprehensive Guide to Mastering Drywall Repair Service and Installment
This overview supplies a comprehensive expedition of drywall repair and setup, providing to both beginners and seasoned professionals. It outlines important tools, methods for patching and hanging sheets, and the critical completing processes. Interior Painting. By understanding typical mistakes, individuals can accomplish refined outcomes. Understanding these abilities not just improves one's home yet also builds confidence in DIY ventures. What foundational suggestions will guarantee a successful job from beginning to end?
Vital Tools for Drywall Fixing and Setup
When starting on drywall repair and installation, a couple of vital tools can considerably boost the effectiveness and high quality of the work. A drywall knife, usually available in various dimensions, is essential for using joint substance and smoothing seams. A taping knife is additionally essential for feathering sides and ensuring a seamless surface. Additionally, a drywall saw or energy blade permits specific cutting of drywall sheets to fit any type of area.
Step-by-Step Overview to Patching Holes
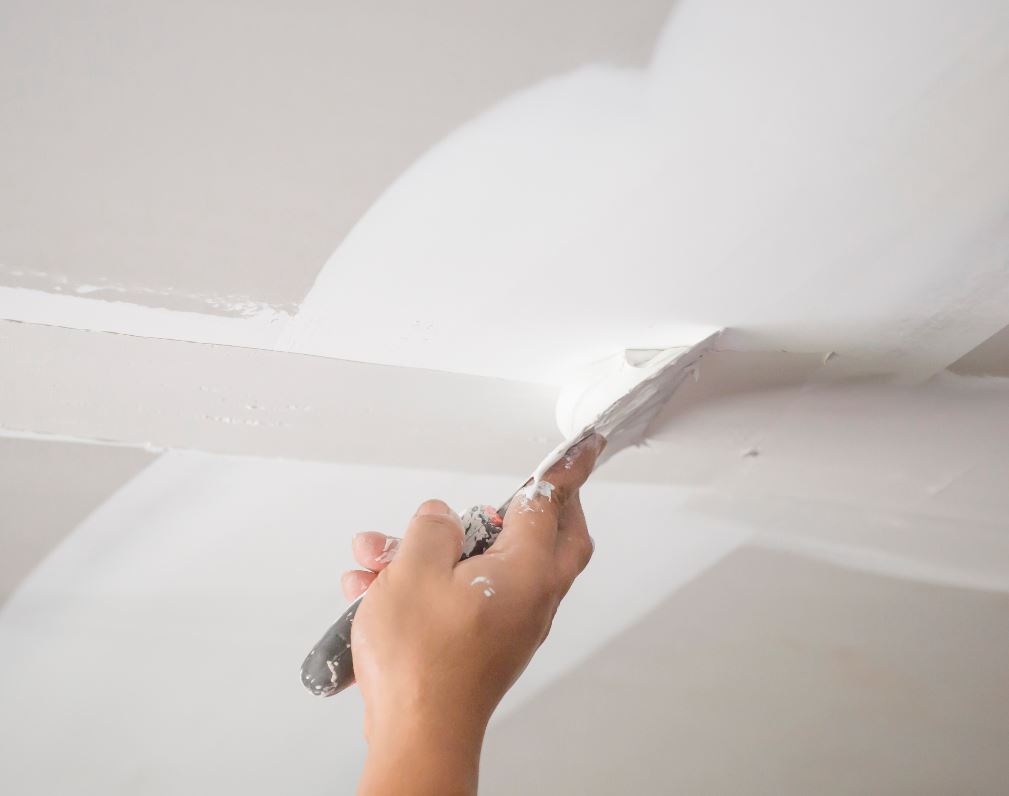
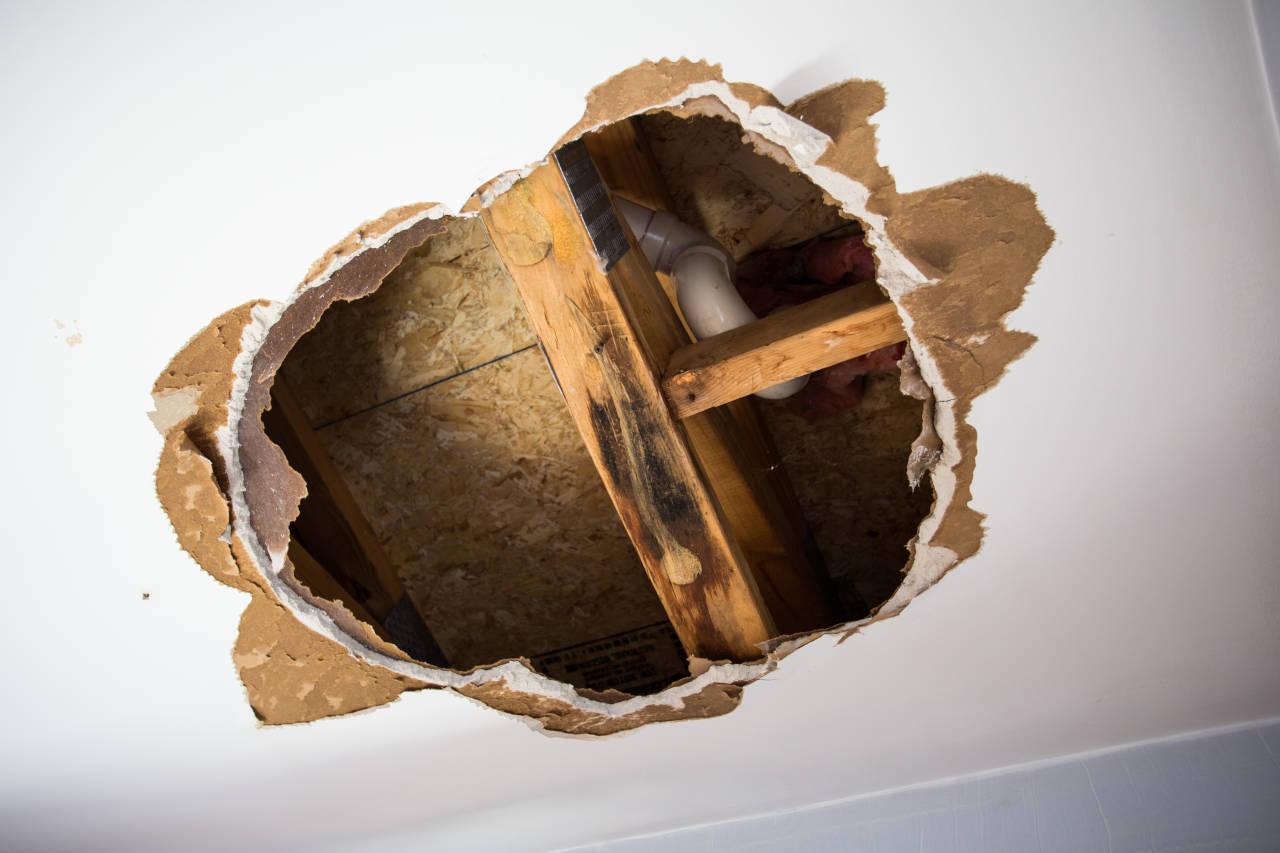
Patching holes in drywall is an uncomplicated process that can bring back the wall surface's look and honesty. To start, the area around the hole should be cleaned and any kind of loosened particles removed. For little holes, a straightforward spackle or joint compound can be applied with a putty knife. Larger openings might require a patch; an item of drywall can be cut to fit the opening, secured with adhesive or screws, and after that taped around the sides. Once the patch remains in area, joint compound is applied over the patch and feathery out to mix with the surrounding wall. After the substance dries, fining sand is essential to achieve a smooth surface. The repaired area can be primed and repainted to match the rest of the wall. This method guarantees a seamless repair work, boosting the general look of the drywall and keeping its architectural integrity.
Methods for Hanging Drywall Sheets
After efficiently fixing openings in drywall, the next action includes hanging new drywall sheets to create a seamless surface. To accomplish this, one should begin by measuring the wall surface space accurately and cutting the drywall sheets to fit. It is crucial to hang the sheets horizontally for better architectural honesty, starting from the top and functioning downwards.
Utilizing a drywall lift can streamline the procedure, particularly for ceiling installations. When positioned, securing the sheets with drywall screws at intervals of about 12 inches along the sides and 16 inches in the field is necessary. This guarantees a strong hold and decreases the risk of sagging. For edges, the sheets must be cut to fit well, enabling for cleaner seams. Lastly, it is a good idea to stagger the joints between sheets to enhance the total structure, more info producing a much more durable surface prepared for the following phase in the drywall installation process.
Ending Up Touches: Insulation and Mudding
Finishing the drywall installment entails the vital actions of taping and mudding, which assure a smooth and refined surface. Taping calls for the application of joint tape over the joints in between drywall sheets. drywall contractor. This tape can be either paper or fiberglass harmonize, with each kind offering one-of-a-kind advantages. After taping, the following step is mudding, where joint compound, or "mud," is put on cover the tape and fill any type of flaws
Making use of a drywall knife, the substance needs to be spread out equally, guaranteeing a feathery side to reduce visible adjustments. Multiple coats are usually essential, with sanding in between each layer to achieve a seamless surface. Mindful focus throughout this process is important, as it significantly affects the final appearance of the wall. With the ideal technique and persistence, the end outcome will be a remarkable foundation ready for paint or ending up touches.
Common Errors to Prevent in Drywall Projects

An additional common mistake is not allowing sufficient drying out time in between coats, which can trap wetness and endanger the finish. Additionally, disregarding to feather the edges correctly can produce visible lines and flaws. Finally, missing sanding or using incorrect methods might leave harsh places. By being conscious of these mistakes, people can greatly improve the high quality of their drywall projects and accomplish a professional-looking surface.
Often Asked Concerns
Can I Fix Drywall Without Professional Aid?
Yes, one can fix drywall without expert help. With the right tools, products, and guidance, individuals can successfully manage minor repair work. Substantial damage may require expert expertise for excellent results and durability.
How Much Time Does Drywall Compound Require To Dry?
Drywall compound commonly takes in between 24 to 2 days to completely dry completely, depending on variables such as moisture and temperature. Thinner layers might dry much faster, while thicker applications require even more time for perfect results.
What's the Best Type of Paint for Drywall?
The ideal kind of paint for drywall is normally a water-based latex paint. It gives superb protection, longevity, and ease of application, making it suitable for interior wall surfaces while allowing for simple cleaning with soap and water.
Exactly how Do I Protect Against Mold And Mildew on Drywall?
To stop mold and mildew on drywall, assurance appropriate air flow, control moisture degrees, use mold-resistant materials, and quickly address any leakages. Normal inspections and prompt removal of water damage are also vital for long-lasting prevention.
Is Drywall Recyclable After Elimination?
Drywall is recyclable after removal, provided it is totally free from contaminants like mold and mildew, paint, or various other dangerous products. Recycling centers can refine it into brand-new products, promoting sustainability and decreasing garbage dump waste in building and construction.
When starting on drywall repair and setup, a few essential devices can considerably improve the efficiency and high quality of the work. After efficiently fixing holes in drywall, the next action involves hanging new drywall sheets to produce a seamless surface. Finishing the drywall setup involves the crucial actions of taping and mudding, which assure a smooth and polished coating. Attaining a sleek finish in drywall jobs can be challenging, and a number of common errors can threaten the quality of the job. Yes, one can repair drywall without professional help.